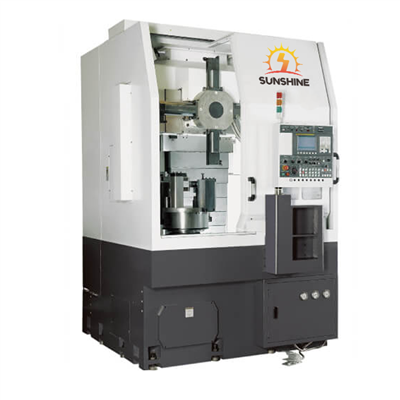
Hey there! As a supplier of Cutting NC Machine Tools, I often get asked about how to import CAD models into a Cutting NC Machine Tool's control system. It's a crucial step in the manufacturing process, and getting it right can save you a ton of time and headaches. So, let's dive right in and talk about the ins and outs of this process.
Why Import CAD Models?
First things first, you might be wondering why you'd even want to import CAD models into your cutting NC machine tool's control system. Well, CAD (Computer-Aided Design) models are incredibly detailed and accurate representations of the parts you want to manufacture. By importing these models directly into the machine's control system, you can automate the programming process, reduce the risk of human error, and ensure that the final product matches the design specifications perfectly.
Step 1: Choose the Right CAD Software
The first step in importing CAD models is to make sure you're using the right CAD software. There are many options out there, but not all of them are compatible with your cutting NC machine tool's control system. Some popular CAD software packages include AutoCAD, SolidWorks, and Fusion 360. Before you start creating your models, check with your machine tool's manufacturer to see which CAD formats they support.

Step 2: Prepare Your CAD Model
Once you've chosen the right CAD software, it's time to prepare your model for import. This involves a few key steps:
- Simplify Your Model: If your model is too complex, it can slow down the import process and cause issues with the machine's control system. Remove any unnecessary details, such as hidden lines and small features, to make your model more manageable.
- Check Your Units: Make sure your CAD model is using the same units of measurement as your cutting NC machine tool. This will ensure that the dimensions of your model are accurate when it's imported into the control system.
- Export Your Model: Most CAD software allows you to export your model in a variety of formats. Choose a format that is compatible with your machine tool's control system, such as DXF, STL, or IGES.
Step 3: Import Your CAD Model into the Control System
Now that your CAD model is ready, it's time to import it into your cutting NC machine tool's control system. The exact process will vary depending on the make and model of your machine, but here are the general steps:
- Open the Control System: Turn on your cutting NC machine tool and open the control system software.
- Locate the Import Function: Look for an option in the control system software to import a CAD model. This may be labeled as "Import," "Load CAD File," or something similar.
- Select Your CAD File: Navigate to the location where you saved your exported CAD model and select it.
- Configure the Import Settings: Depending on the control system, you may need to configure some settings, such as the scale, orientation, and origin of the model. Make sure these settings are correct before importing the model.
- Import the Model: Click the "Import" button to transfer the CAD model into the control system. This may take a few minutes, depending on the size and complexity of the model.
Step 4: Verify and Adjust the Imported Model
After you've imported your CAD model into the control system, it's important to verify that it was imported correctly and make any necessary adjustments. Here's what you should do:
- Check the Dimensions: Use the control system's measurement tools to verify that the dimensions of the imported model match the original CAD design. If there are any discrepancies, you may need to adjust the import settings or go back and modify the CAD model.
- Review the Geometry: Take a close look at the geometry of the imported model to make sure it is accurate and free of errors. Look for any missing or distorted features, and make any necessary repairs.
- Test the Program: Before you start cutting, it's a good idea to run a test program to make sure the machine tool will operate correctly with the imported model. This will help you identify any potential issues and make any final adjustments.
Step 5: Optimize Your Cutting Program
Once you've verified and adjusted the imported model, it's time to optimize your cutting program. This involves a few key steps:
- Select the Right Cutting Tools: Choose the cutting tools that are best suited for the material and geometry of your part. Consider factors such as the tool diameter, cutting speed, and feed rate.
- Set the Cutting Parameters: Use the control system's programming features to set the cutting parameters, such as the cutting depth, spindle speed, and feed rate. These parameters will affect the quality and efficiency of the cutting process.
- Generate the Toolpath: Use the control system's toolpath generation software to create a toolpath for the cutting operation. This will determine the path that the cutting tool will follow as it moves across the workpiece.
- Simulate the Cutting Process: Before you start cutting, use the control system's simulation software to simulate the cutting process. This will allow you to visualize the toolpath and identify any potential issues, such as collisions or excessive tool wear.
Tips and Tricks
Here are some additional tips and tricks to help you import CAD models into your cutting NC machine tool's control system more effectively:
- Keep Your Software Up to Date: Make sure you're using the latest version of your CAD software and the control system software. This will ensure that you have access to the latest features and bug fixes.
- Use a CAD-to-CAM Converter: If your CAD software doesn't support the native format of your machine tool's control system, you can use a CAD-to-CAM converter to convert the model into a compatible format.
- Seek Professional Help: If you're having trouble importing CAD models into your machine tool's control system, don't hesitate to seek professional help. Your machine tool's manufacturer or a qualified CNC programmer can provide you with guidance and support.
Conclusion
Importing CAD models into a cutting NC machine tool's control system is a crucial step in the manufacturing process. By following the steps outlined in this blog post and using the tips and tricks provided, you can ensure that your CAD models are imported correctly and that your cutting programs are optimized for maximum efficiency and quality.
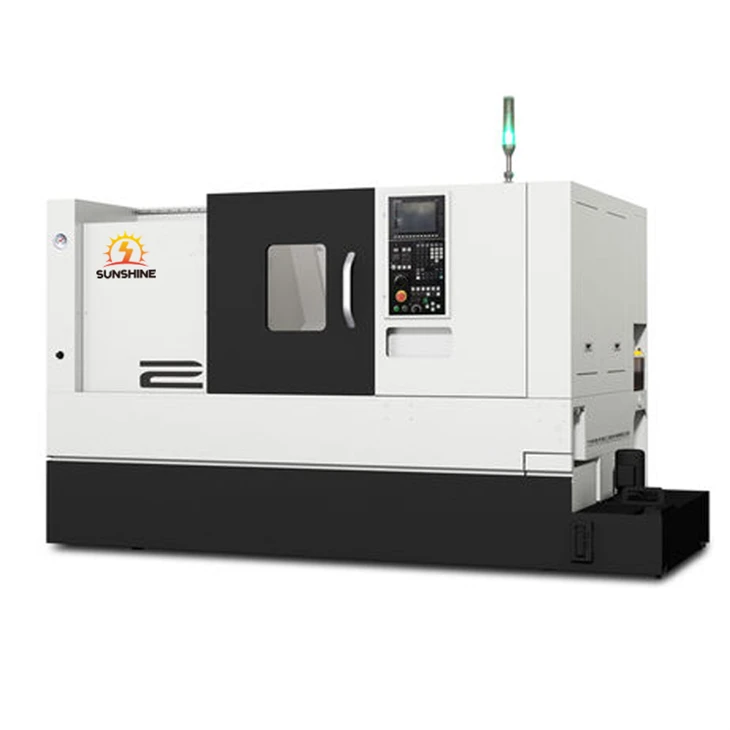
If you're in the market for a cutting NC machine tool, we've got some great options for you. Check out our VTC60 wheel hub processing CNC vertical lathe, CNC inclined lathe for disc processing, and CK525 Vertical Cnc Lathe.
If you have any questions or would like to discuss your specific needs, please don't hesitate to reach out. We're here to help you find the perfect solution for your manufacturing requirements.
References
- "CNC Programming Handbook" by Peter Smid
- "CAD/CAM for Mechanical Engineers" by John R. Walker
- Manufacturer's documentation for your cutting NC machine tool and CAD software